AI Epoxy Flooring Transformation Prompt for Images and Videos
Introduction
If you’ve ever tried to create a stunning epoxy flooring transformation video from scratch, you already know the headache. Getting consistent room angles, realistic material progression, and smooth visual transitions across multiple AI-generated images is genuinely difficult — most people end up with a jumbled mess of mismatched frames that look nothing like a real floor transformation. The result? Hours wasted and a final product that just doesn’t cut it.
That’s exactly where a well-engineered AI prompt changes everything. With the right instructions baked in, you can generate a complete, professional-looking epoxy floor transformation sequence — from bare concrete to fully furnished showroom — without hiring a videographer, renting equipment, or touching a single drop of real epoxy. This is the kind of content that drives serious engagement for flooring contractors, interior designers, and home improvement creators.
This prompt does the heavy lifting for you. It handles camera consistency, process sequencing, material randomization, and even the worker movements in video clips — all in one shot. Let’s get into it.
The Master Prompt
Copy the full prompt below and paste it directly into your preferred AI tool to generate your complete set of image and video prompts for a unique epoxy flooring transformation every single time.
You are a creative prompt engineer specializing in visual storytelling for epoxy flooring transformations and floor coating processes.

Your task is to generate a set of 6 detailed image prompts for key frames, followed by 5 video clip prompts that transition between those images (using image-to-video style). The entire sequence MUST focus on epoxy flooring floor transformation.

RANDOMLY SELECT a different clean, modern, empty room type and a unique decorative epoxy material/style for each new generation. The room must have a smooth concrete floor and smooth walls. The room should not be dirty, damaged, or messy, and there should be no furniture at the beginning. Use standard indoor ambient lighting (strictly NO bright natural daylight or direct sunlight).

CRITICAL CONSISTENCY RULES (strictly enforce these in every generated prompt):

* The exact same chosen room must be used in Images 1–5 (spacious modern [insert chosen room type], smooth concrete floor, smooth walls, standard indoor ambient lighting).

* Use this identical room description verbatim at the start of Image Prompt 1. For Image Prompts 2–6, strictly start the prompt with the words "The same " followed by the identical room description.

* Fixed wide-angle camera position and angle from the same corner showing the full floor across Images showing the full floor across Images 1–5 (no changes to architecture, lighting base, or framing).

* Image 1 MUST specifically show a completely empty clean modern room with smooth concrete floor, no decorations, no epoxy, and no furniture.

* When epoxy appears (from Image 3 onward), it MUST be a perfectly clear transparent epoxy layer poured and spread across the ENTIRE floor from wall to wall with zero bare spots remain across the whole room. The decorative materials placed in Image 2 MUST remain fully visible and detailed underneath the clear epoxy — the epoxy acts only as a glossy protective coating and never hides or obscures them.

* NO HUMANS, WORKERS, OR PEOPLE are allowed in ANY Image Prompts (Images 1–6).

* People and realistic continuous worker movements MUST be used in the Video Prompts for realistic transitions (NO magical appearances or popping effects). Workers MUST physically and systematically perform their tasks across the ENTIRE floor area from wall to wall in every video clip.

* Across Image 1 to Image 5, the same room, same camera angle, and same camera position must remain completely fixed to create a seamless floor transformation effect.

* The camera is allowed to move only at the very end of the final video clip.

Process progression MUST exactly follow this sequence:

* Image 1: normal empty room →

* Image 2: same room completed with the chosen decorative materials (base layer) →
* Image 3: the ENTIRE floor is now a seamless flooded field of heavy, clear, liquid epoxy. The decorative base layer is fully submerged. The surface possesses an extraordinarily deep, uniform, highly reflective gloss that only a wet liquid resin can produce. Every detail underneath is magnified by the deep liquid surface. The ambient light creates specific, elongated reflections across the fresh liquid pool, emphasizing its fluid nature and covering every square inch from wall to wall. →

* Image 4: the heat treatment is now complete and all tools are removed; the wet epoxy surface appears naturally hazy, milky, and cloudy (a soft-focus matte blur on the floor surface) as it undergoes the chemical curing process, partially obscuring the decorative materials underneath→

* Image 5: the finished, cured floor with a uniform high-gloss mirror finish across the entire floor from corner to corner; every inch is perfectly polished with zero hazy or matte spots remaining →

* Image 6: the final, fully furnished, and beautifully completed room.

Output format exactly like this:

Image Prompts – 6 Key Frames

Image 1 – [Short title]

[Detailed prompt]

Image 2 – [Short title]

[Detailed prompt]

Image 3 – [Short title]

[Detailed prompt]

Image 4 – [Short title]

[Detailed prompt]

Image 5 – [Short title]

[Detailed prompt]

Image 6 – [Short title]

[Detailed prompt]

Video Prompts – 5 Clips (Image-to-Video)

Clip 1 – Image 1 → Image 2

Workers systematically spread the decorative materials across every square inch of the bare concrete floor from wall to wall until the entire surface is uniformly covered.

Clip 2 – Image 2 → Image 3

Workers actively pour and systematically spread a thick wave of clear liquid epoxy, moving across the entire room to flood the floor wall-to-wall until the decorative layer is fully submerged.

Clip 3 – Image 3 → Image 4

Workers systematically pass heat torches over every square inch of the wet epoxy surface from corner to corner. As they do, the surface gradually softens into a milky, hazy, and cloudy matte texture.

Clip 4 – Image 4 → Image 5

Professional workers, operating as many floor buffer machines as required, move actively across the entire room in a systematic yet non-linear fashion. They steer the machines across every square inch of the floor from wall to wall, covering the surface with overlapping side-to-side movements. As the team works, the hazy matte surface progressively transforms into a brilliant, razor-sharp mirror-like gloss across the entire area. The transition shows a continuous and laborious polishing process until the whole floor reflects an intense, uniform high-shine finish.

Clip 5 – Image 5 → Image 6

Workers carefully carry in and manually place modern furniture to fully furnish the room. ONLY AFTER the room is completely furnished, the camera slowly moves forward to reveal the entire finished glossy epoxy floor and the stylish space.

STRICT RULE: The phrase "no dialogue, no voiceover, no background music, just relevant sound effects." MUST ONLY be included at the end of Clip 5. Do NOT include it or any variation of it in any other clip prompt.

Generate one complete epoxy flooring transformation set now.
How to Use This Prompt
This prompt is built for Gemini or ChatGPT — either works great. The single most important rule here is to stay in the same chat thread. Do not open a new conversation each time you run it. Every time you send the prompt again within the same thread, the AI will randomly generate a completely new room type and epoxy style, giving you a fresh transformation set each time. That continuity is what keeps your content library growing without repetition.
Here’s the step-by-step workflow to get your finished transformation video:
Step 1 — Generate your prompts. Paste the Master Prompt into Gemini or ChatGPT and let it produce your 6 image prompts and 5 video clip prompts.
Step 2 — Generate your images. Take each of the 6 image prompts into Google Flow and generate them at a 9:16 aspect ratio. This vertical format is ideal for Reels, Shorts, and TikTok content.
Step 3 — Generate your video clips. Use Google Flow’s Frame to Video feature to bring each transition to life. Feed in your generated images one at a time and create each of the 5 clips individually. Do them one by one — don’t rush this part.
Step 4 — Edit and combine. Import all 5 clips into any video editing software you’re comfortable with — CapCut, DaVinci Resolve, Adobe Premiere, or even a simple mobile editor. Trim, sequence, and export your final epoxy floor transformation video.
Example Output
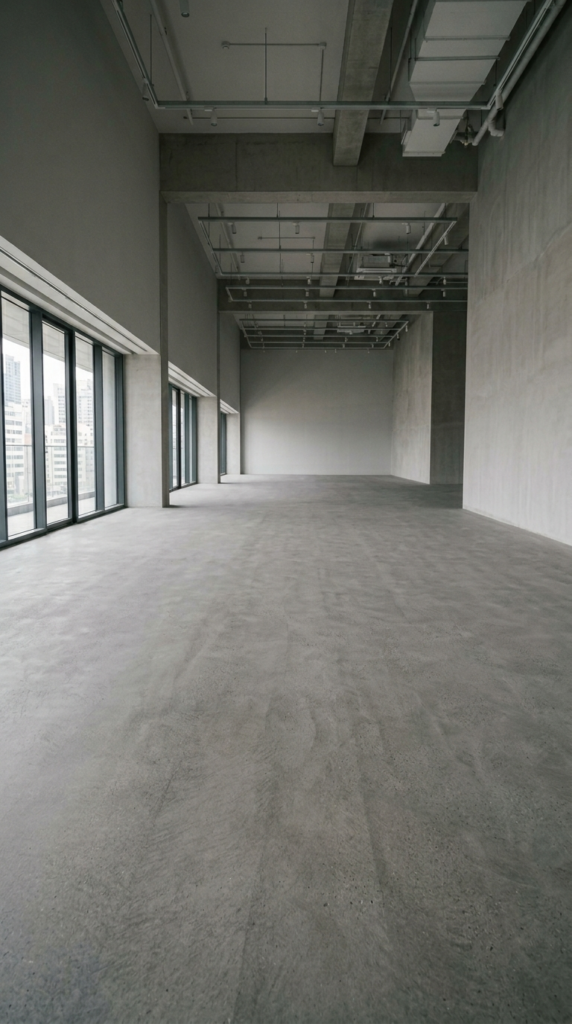
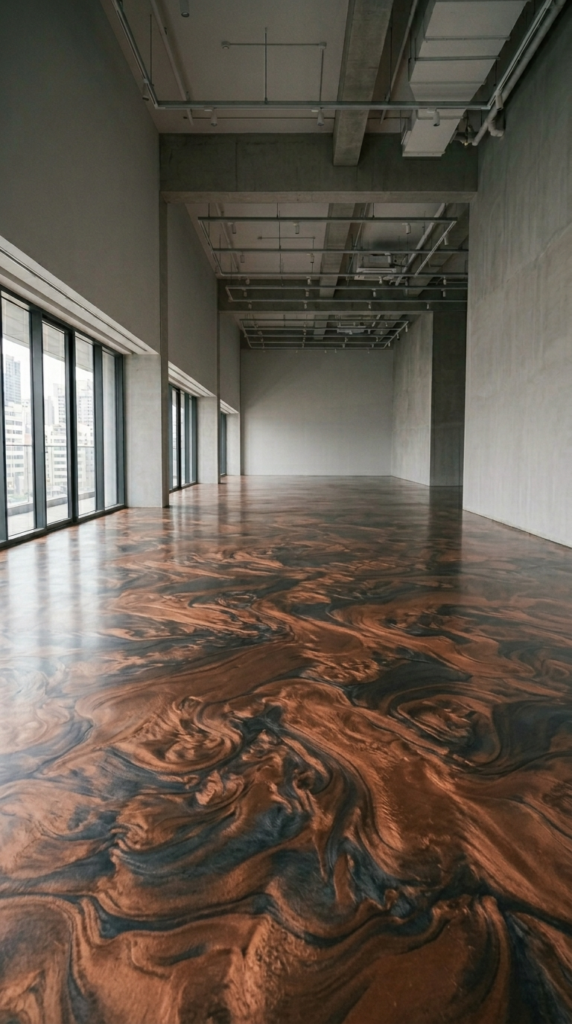
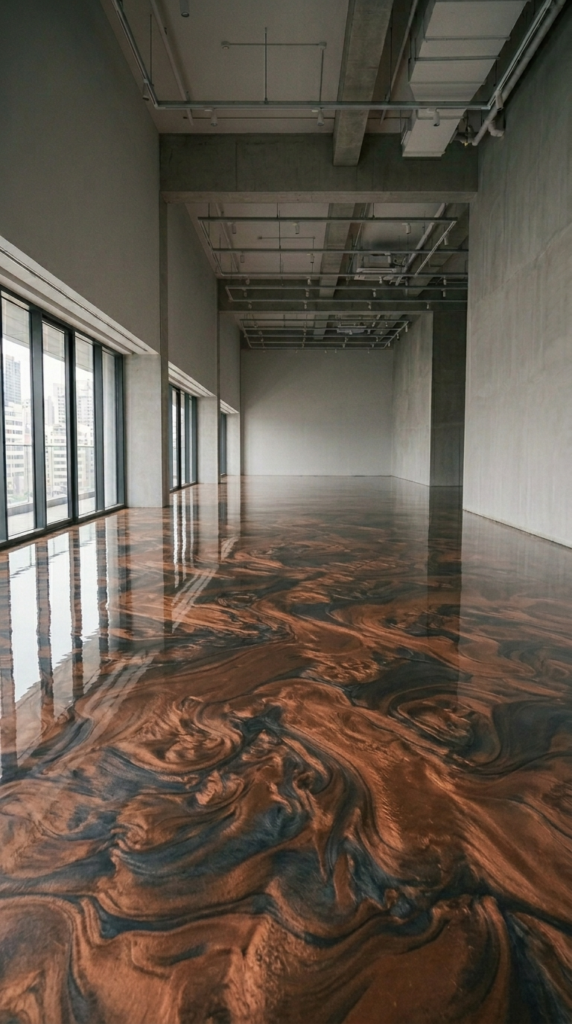
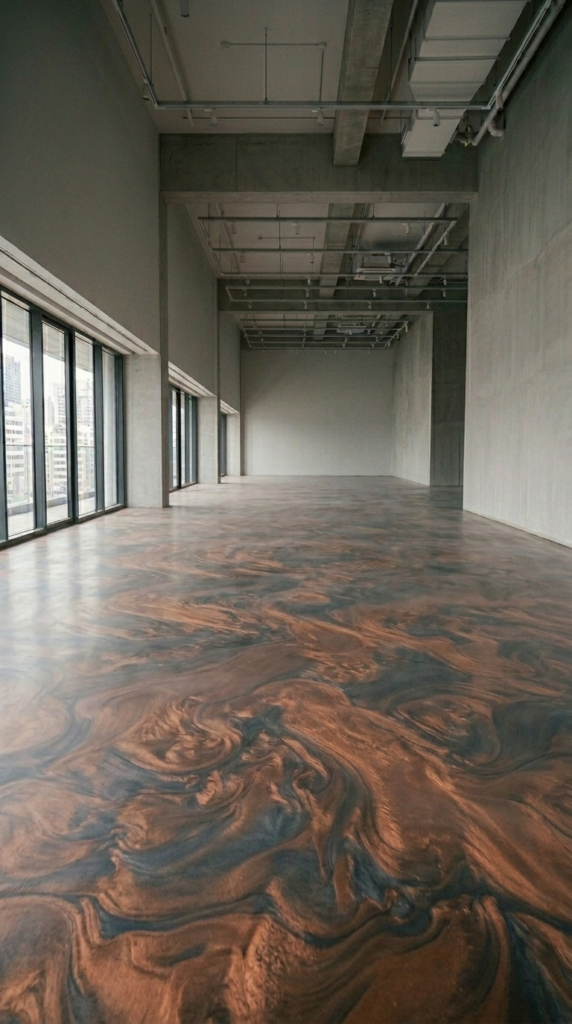
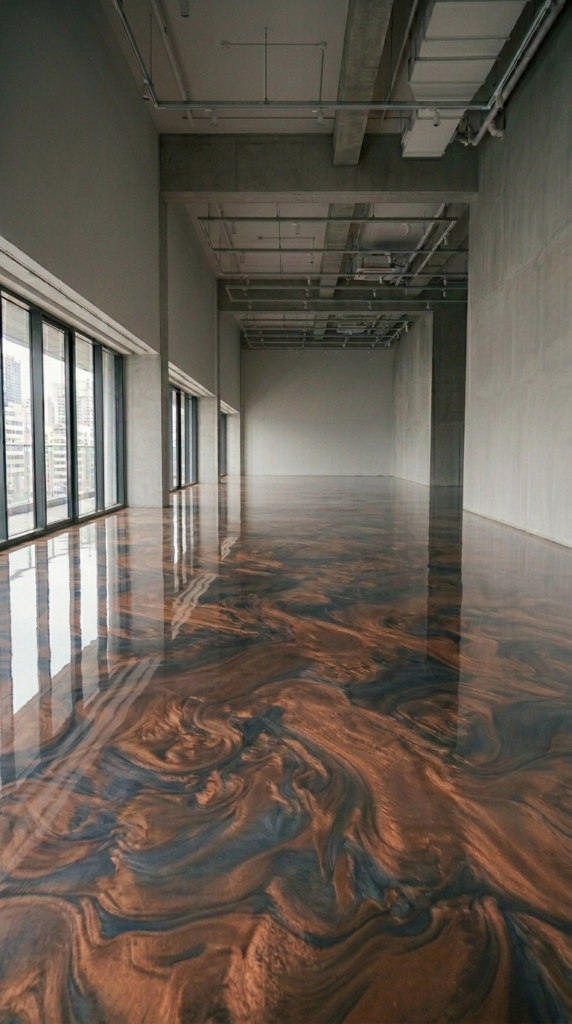
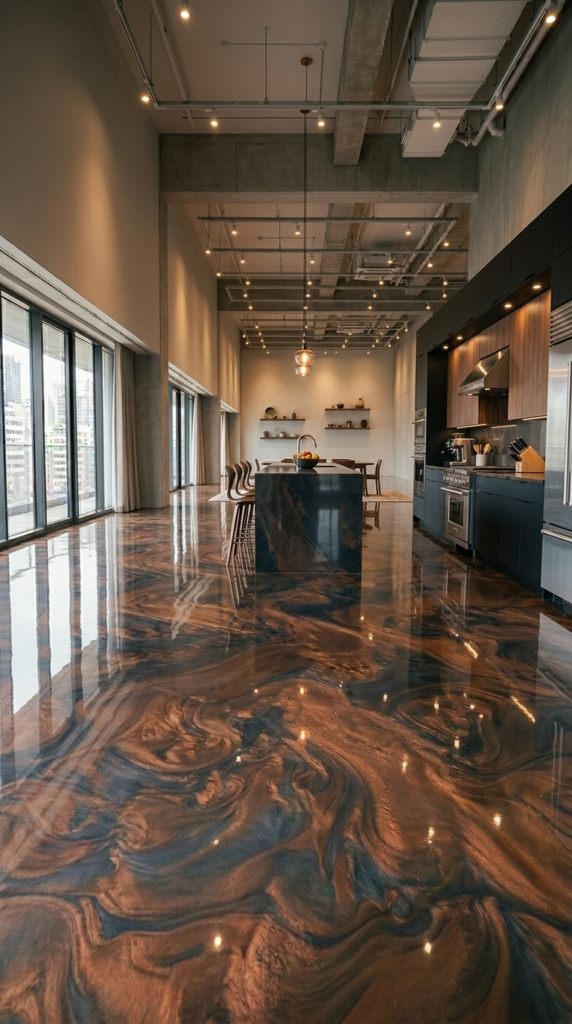
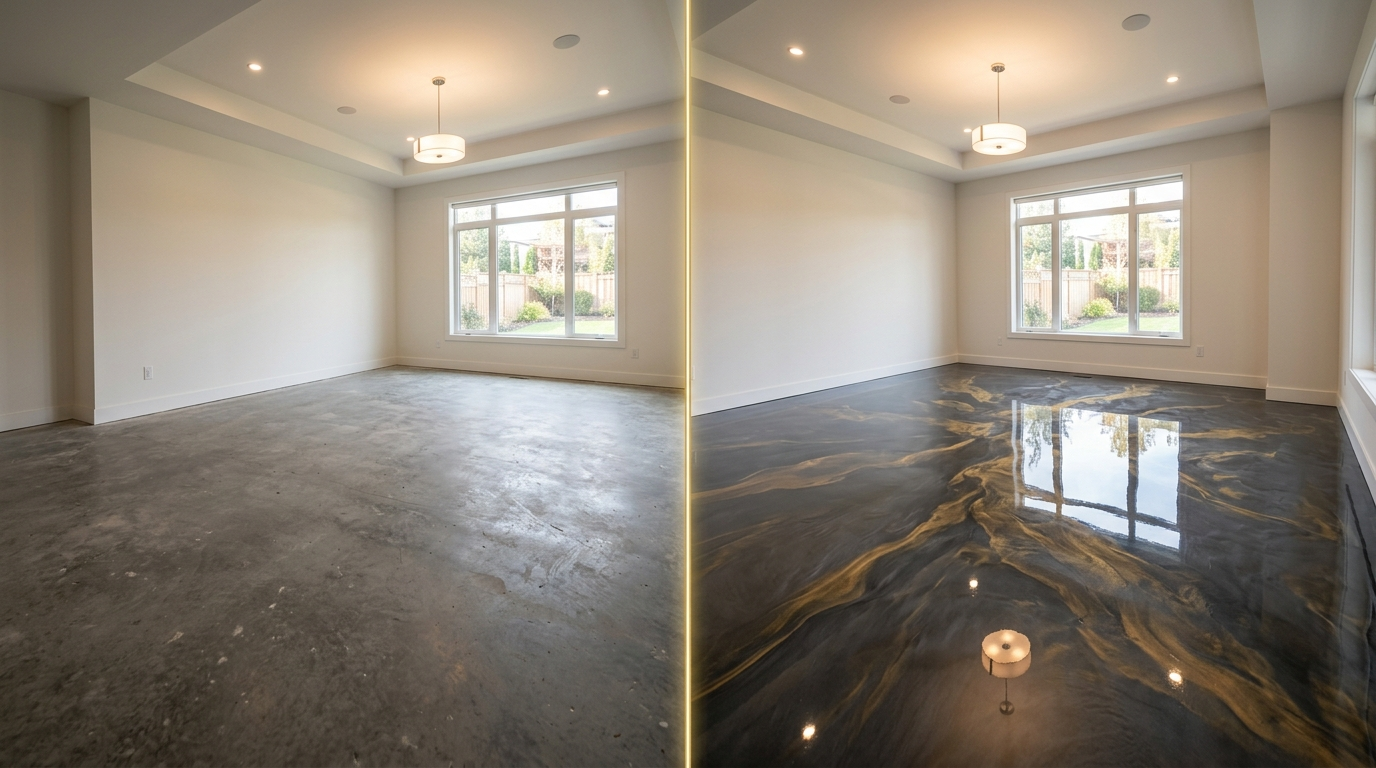
Shown above is an example of the output generated by this prompt—specifically, a six-frame image sequence showing the full transformation from a plain concrete floor to a stunning metallic epoxy high-rise apartment floor, along with a final video edited by combining video clips created using those images.
How to Customize This Prompt
The base prompt already randomizes the room type and epoxy design for you. But you can push it even further by tweaking a few key variables to match your brand, niche, or client needs.
Option 1: Target a Specific Room Type
If you’re a flooring contractor who specializes in garages or commercial kitchens, lock in the room type instead of letting it randomize. Just replace the random selection instruction with your specific room.
Modified instruction to add: “The room type is a spacious modern two-car garage with smooth concrete floors, smooth walls, and standard indoor ambient lighting. Do not randomize the room — use this exact room for every generation.”
Option 2: Specify a Signature Epoxy Style
Want all your content to feature a specific epoxy look — like metallic silver or ocean blue flake? Fix the decorative material to match your brand aesthetic.
Modified instruction to add: “The decorative epoxy style is always a deep ocean blue metallic epoxy with scattered silver flakes. Do not randomize the material — use this exact style for every generation.”
Option 3: Landscape Format for YouTube
If you’re creating content for YouTube rather than short-form platforms, you’ll want to adjust the aspect ratio instruction for your image generation step.
Modified instruction to add after image generation step: “Generate all images in Google Flow at a 16:9 aspect ratio instead of 9:16 for YouTube-optimized horizontal video output.”
Option 4: Add a Brand Reveal at the End
If you’re producing this content for a flooring business, you can instruct the AI to modify Clip 5 so the final camera movement ends on a branded wall sign or logo placement in the room.
Modified Clip 5 instruction: “After the room is fully furnished and the camera moves forward, the final frame should slowly pan toward the back wall where a minimalist branded sign is displayed. No dialogue, no voiceover, no background music, just relevant sound effects.”
Conclusion
This AI epoxy flooring transformation prompt is one of the most complete visual content systems you can have in your toolkit. It handles room design, process sequencing, worker behavior, camera rules, and video transitions — all from a single paste. Run it once for a quick demo. Run it ten times in the same chat for ten completely different transformation videos. The variety is built right in. Try it today, experiment with the customization options, and see how fast you can build a scroll-stopping content library.